A more interesting shell
In the first chapter, the app started with shell-web already installed. That is the normal JSKIT starting point: a real layout, navigation outlets, a first settings area, and a proper app-level error host.
This still is not authentication, not database work, and not multi-surface routing. The app remains small. But it starts to look and behave like something you could actually grow.
Recap from previous chapters
To get back to the same starting point as the end of the previous chapter, run:
npx @jskit-ai/create-app exampleapp --tenancy-mode none
cd exampleapp
npm install
If you are already continuing from the previous chapter, you are already in the right place and can skip that setup.
Running the shell
From inside exampleapp, run:
npm run dev
npm run server
You want both processes running. The starter home page fetches /api/health, so the browser-facing dev server on port 5173 expects the backend on port 3000 to be alive as well.
Open http://localhost:5173/ in the browser. The app lands in the home surface inside a real shell with an app bar, a navigation drawer, and a settings route at /home/settings.
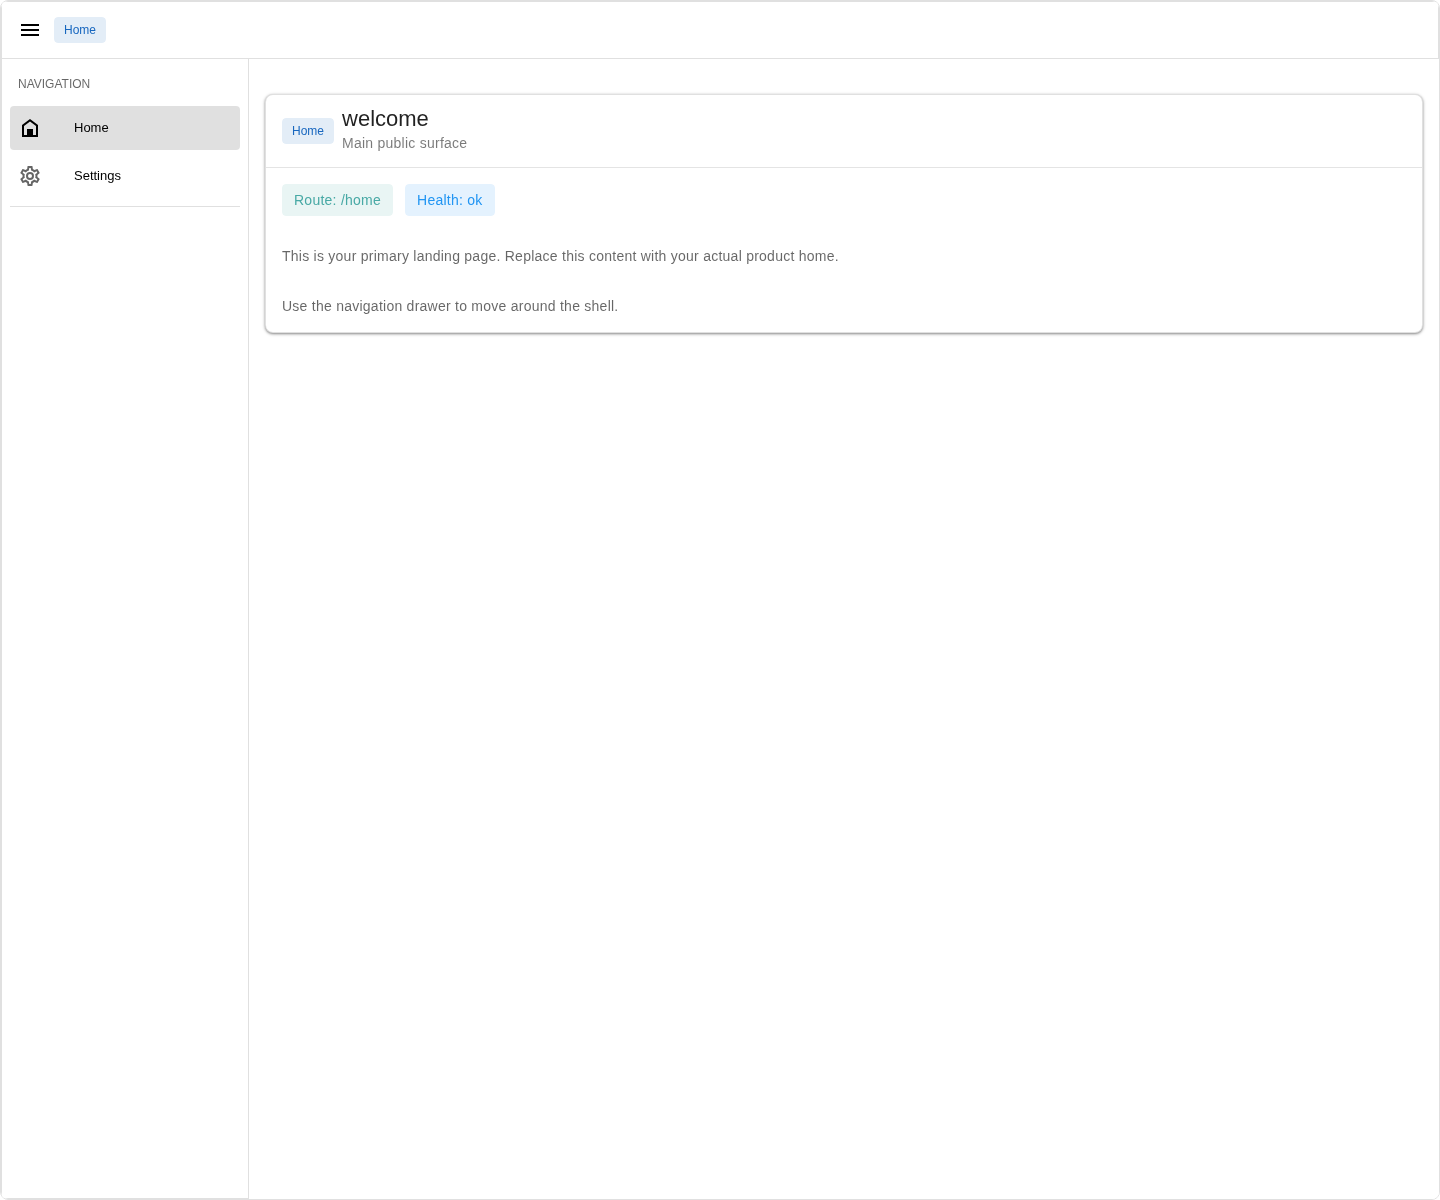
Two shell pieces are worth noticing first.
- Navigation lives in the drawer itself.
HomeandSettingsare real shell menu entries from the start. Settingsis already a real nested section. Opening/home/settingsredirects to/home/settings/general, and the left-side menu already contains a starterGeneralentry.
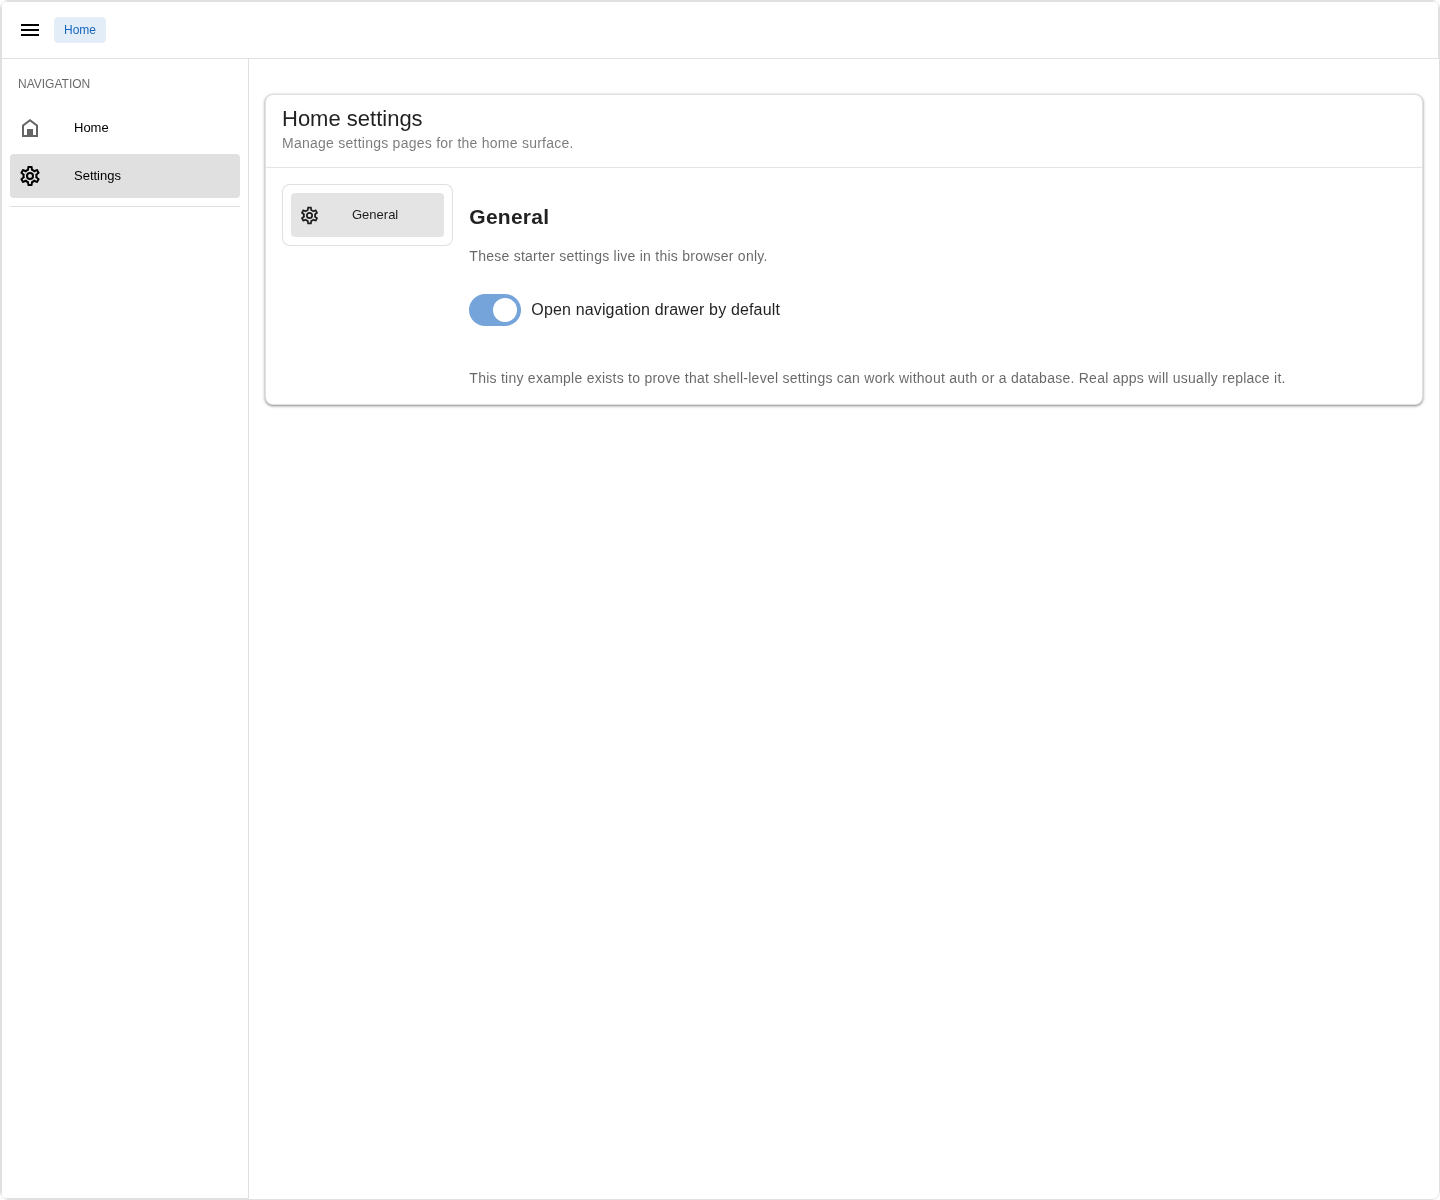
Open http://localhost:5173/home/settings in the browser to see that nested settings shell immediately:
Module features
The most important idea in shell-web is that the app has specific, named places where UI can be inserted later. JSKIT calls those places placements. In practice, this means later packages or generators do not have to rewrite the whole shell every time they want to add a menu entry, a widget, or a settings section.
Start by asking JSKIT what public placement targets already exist:
npx jskit list-placementsIn a fresh shell-web app, the result includes entries like these:
Available placements:
- shell.primary-nav (default): Primary top-level navigation for the current surface.
  - compact -> shell-layout:primary-bottom-nav
  - medium -> shell-layout:primary-menu
  - expanded -> shell-layout:primary-menu
- page.section-nav [owner:home-settings]: Navigation between child pages in the home settings section.
  - compact -> home-settings:primary-menu
  - medium -> home-settings:primary-menu
  - expanded -> home-settings:primary-menu
This command lists semantic placements, not the content inside them. Later, when you place things into the shell, this list stays stable unless the public placement topology changes.
The concrete outlets still exist, but they are implementation details. If you need to inspect them directly, use:
npx jskit list-placements --concreteThose concrete target names come from real ShellOutlet elements in the app. See src/components/ShellLayout.vue:
...
<ShellOutlet target="shell-layout:top-left" />
...
<ShellOutlet target="shell-layout:top-right" />
...
<ShellOutlet
  target="shell-layout:primary-menu"
  default
/>
...
<ShellOutlet target="shell-layout:secondary-menu" />
...
<ShellOutlet target="shell-layout:primary-bottom-nav" />
...
<ShellOutlet target="shell-layout:supporting-bottom-sheet" />
<ShellOutlet target="shell-layout:supporting-side-panel" />
And the settings page introduces its own nested outlet in src/pages/home/settings.vue:
<ShellOutlet target="home-settings:primary-menu" />That nested example matters. It shows that the shell is not the only place that can host placements. A page inside the shell can define its own insertion point too. That is how JSKIT can later build menus inside sections such as settings without rewriting the whole shell.
Just as importantly, shell-web uses that placement system itself. The starter app exposes semantic placement targets and seeds real placement entries into them. Home and Settings land in primary navigation, and General lands in the nested settings menu. The shell is exercising the same extension contract that later package and generator output uses.
The shell also ships with a few app-owned component tokens that it can use as default link renderers. You can inspect those too:
npx jskit list-component-tokens --prefix local.main.The starter result looks like this:
Available placement component tokens:
Showing link-item tokens only (token must end with "link-item"). Tip: use --all for full token list.
- local.main.ui.menu-link-item [app:packages/main/src/client/providers/MainClientProvider.js]
- local.main.ui.surface-aware-menu-link-item [app:packages/main/src/client/providers/MainClientProvider.js, app:src/placement.js, package:@jskit-ai/shell-web:templates/src/placement.js]
- local.main.ui.tab-link-item [app:packages/main/src/client/providers/MainClientProvider.js]
The shell knows about three local link-item tokens. They are app-owned components registered by the local package, and topology uses them when an outlet needs to render links or tabs.
At this point the shell is using placements itself. The next step is to add one of our own.
Adding generic elements directly
To add a small UI element to the shell itself:
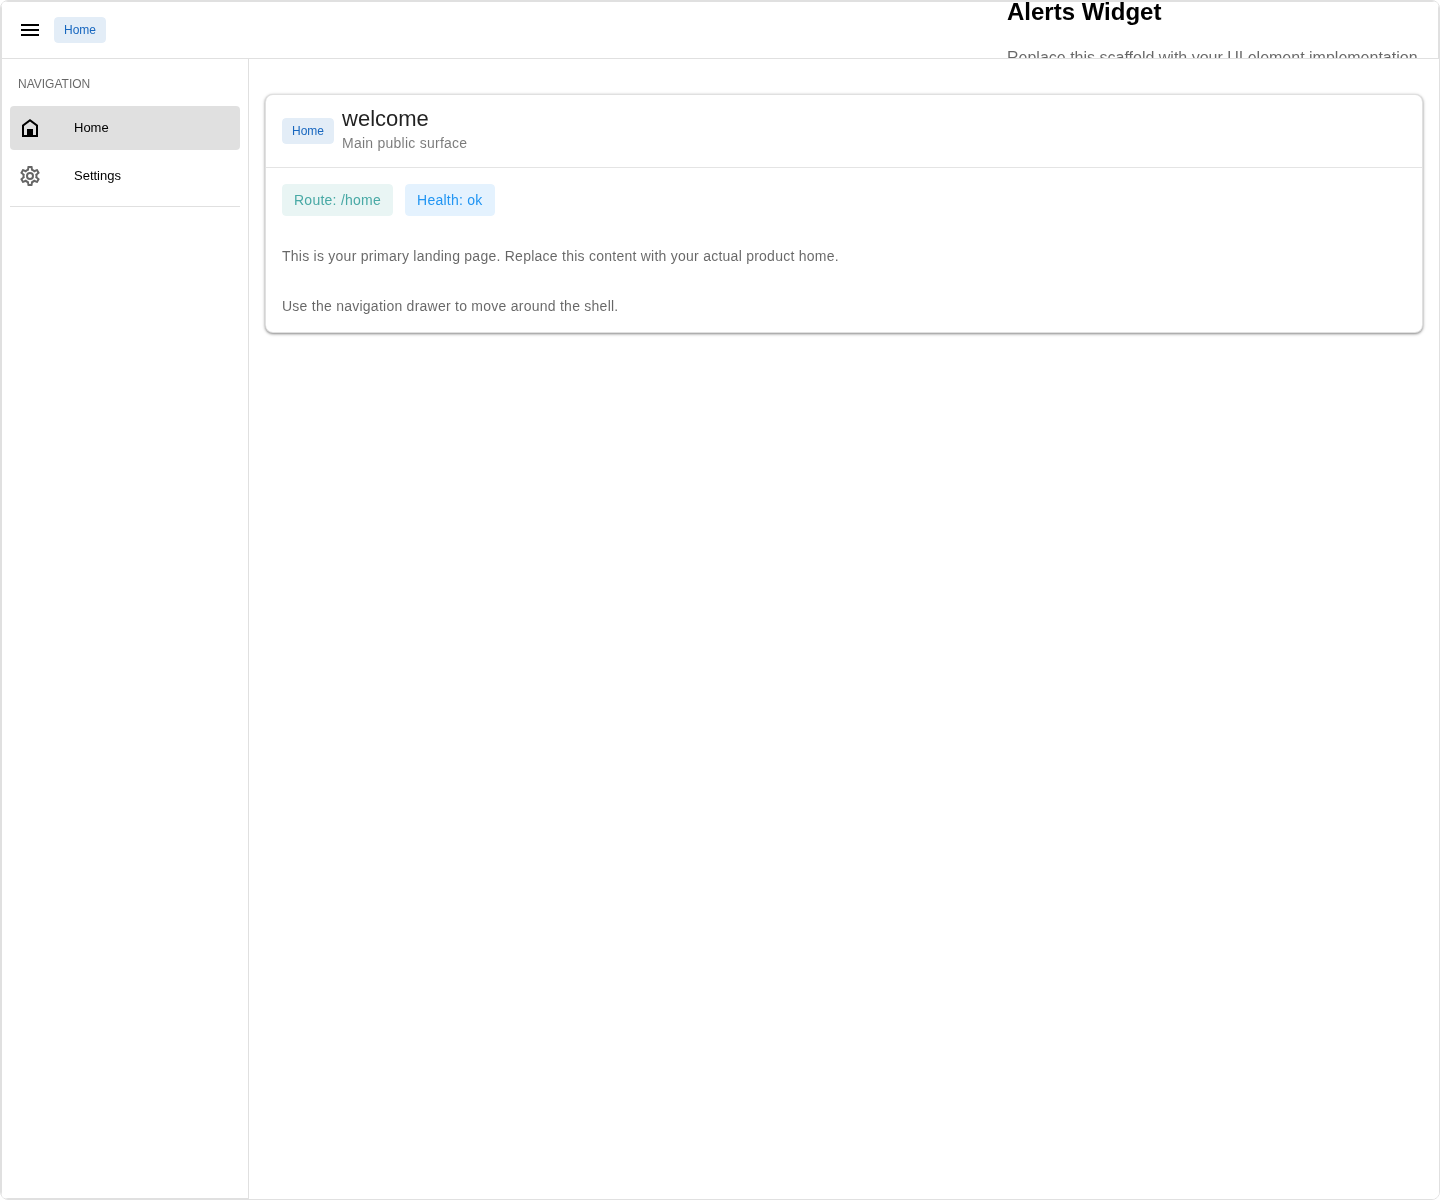
npx jskit generate ui-generator placed-element --name "Alerts Widget"That command creates a Vue component under src/components/ (in this case src/components/AlertsWidgetElement.vue), registers a local token for it, and adds a placement entry targeting shell.status. After running it, refresh the home page in the browser. The shell renders the app-owned widget inside one of its named placement targets.
In this app, there is no need to pass --surface: since the app only has one enabled surface, JSKIT can infer it automatically.
Adding a page with automatic menu placement
The settings host uses the same placement machinery, but the normal way to grow it is not by dropping a free-standing widget there. The more interesting case is adding a child page and letting JSKIT wire the menu entry for you.
The owner in the list-placements output helps you reason about where child pages belong. When you see:
- page.section-nav [owner:home-settings]you know that the semantic placement is owned by the settings host page. So if you want a child page to appear in that menu, you should create it under that part of the route tree instead of treating the menu like a generic widget area. For example, src/pages/home/settings/profile/index.vue belongs to that settings section, so JSKIT can wire its preferred menu entry into page.section-nav with owner home-settings automatically.
Now use the settings host the way it is normally meant to be used: add a real child page under it.
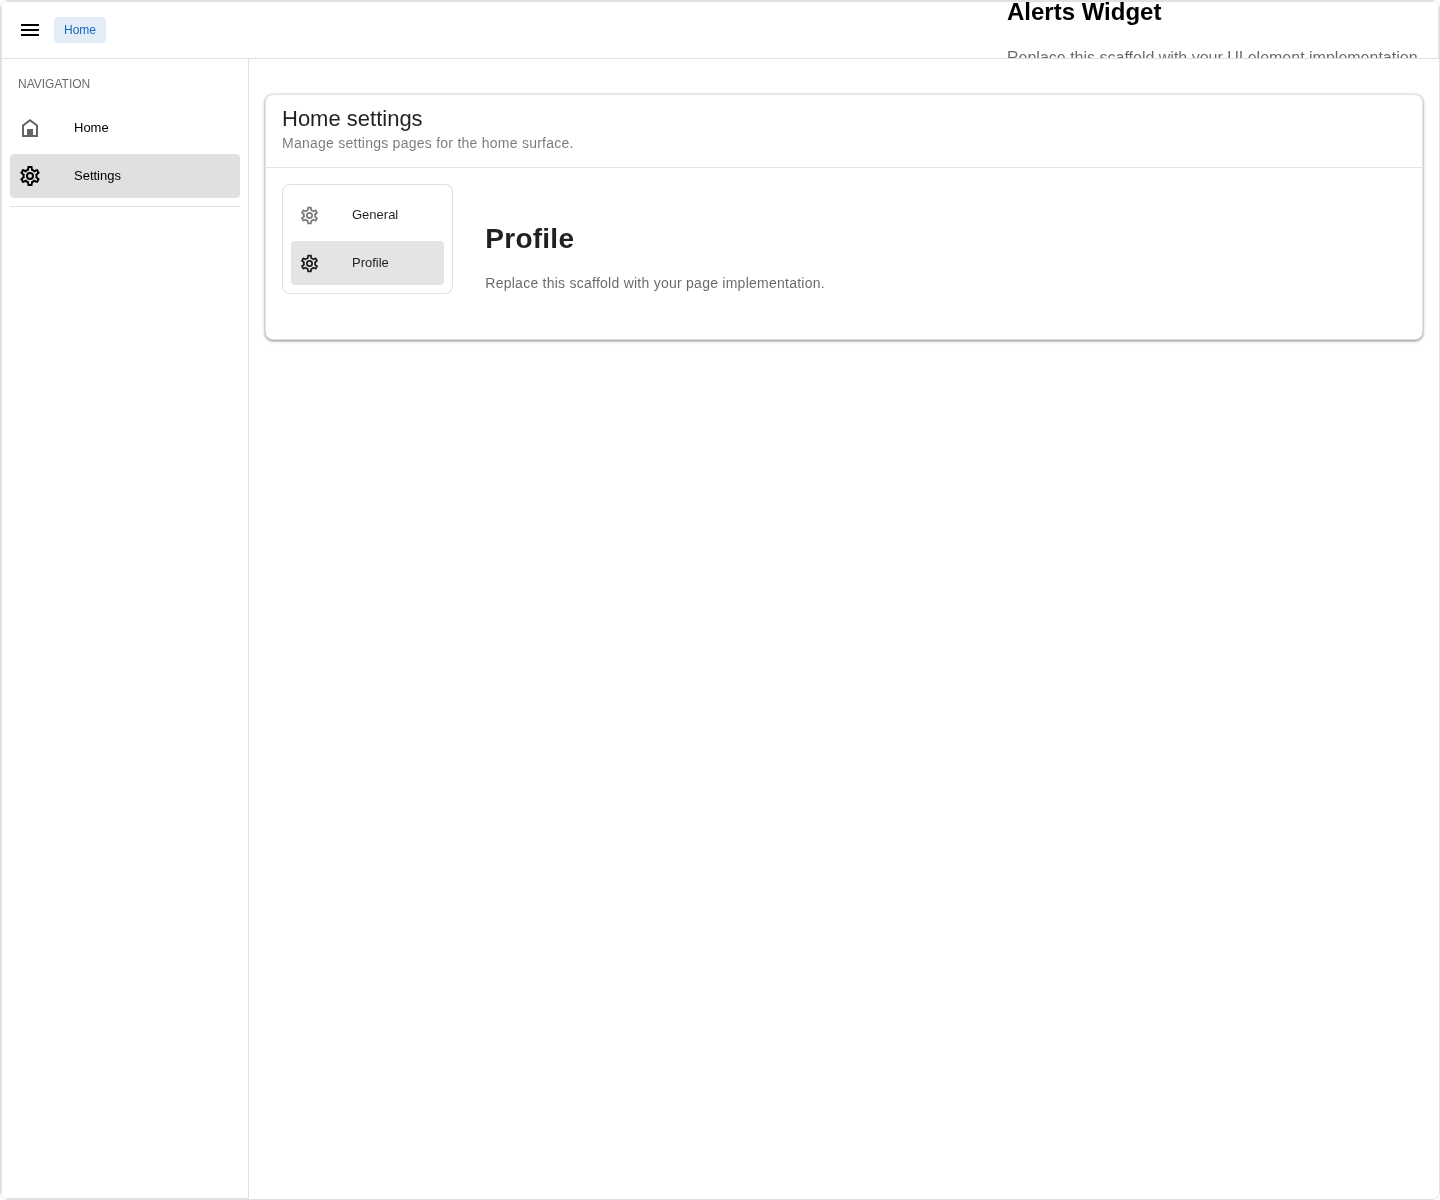
npx jskit generate ui-generator page home/settings/profile/index.vue --name "Profile"This is a more interesting example than the widget case. JSKIT creates the page file, notices that src/pages/home/settings.vue owns the settings section navigation, and adds the preferred semantic menu entry there automatically. You do not have to write that placement entry by hand.
Open /home/settings/profile in the browser. The settings shell shows a second real child page and a second real menu entry created by the same page-generation command. General comes from shell-web; Profile is the first additional settings page you add yourself. This is the important part of the chapter: the exact same placement system works both at the top shell level and inside a page-owned nested outlet.
Add a second sibling page:
npx jskit generate ui-generator page home/settings/notifications/index.vue --name "Notifications"Open /home/settings/notifications in the browser. You get a third settings menu entry without touching settings.vue, without writing a second menu component, and without hand-editing src/placement.js. JSKIT appends another placement entry targeting the same page.section-nav owner, so the links stack in the menu for free.
The order is also easy to reason about:
Generalcomes first becauseshell-webseeds it with a lower order than generated child pages.ProfileandNotificationsboth use the generator's default order, so between those two the menu keeps source order.

Component tokens
If you rerun the token listing, the widget command is the only command in this chapter that created an app-owned component token:
npx jskit list-component-tokens --all --prefix local.main.The output includes:
- local.main.ui.element.alerts-widget
- local.main.ui.menu-link-item
- local.main.ui.surface-aware-menu-link-item
- local.main.ui.tab-link-itemThat difference is useful. npx jskit generate ui-generator placed-element creates a new component token. page reuses the existing default link-item token for the parent outlet and adds a placement entry for the new route.
So the shell story in this chapter is:
ShellOutletdefines named places where UI can appearjskit list-placementsshows those placesshell-webalready uses those places for the starterHome,Settings, andGeneralentriesjskit generate ui-generator placed-element ...creates app-owned UI and places it into one of themjskit generate ui-generator page ...can also discover a parent outlet and add the right menu entry automatically- repeating that page command for the same host gives you a stacked menu, still without hand-editing the host page
- nested pages can host placements too, not just the top shell
That is the first real example of JSKIT behaving like an extension system rather than just a scaffold generator.
What shell-web owns in the app
The most interesting files look roughly like this:
src/
components/
AlertsWidgetElement.vue
ShellLayout.vue
menus/
MenuLinkItem.vue
SurfaceAwareMenuLinkItem.vue
TabLinkItem.vue
error.js
placement.js
pages/
home.vue
home/
index.vue
settings.vue
settings/
index.vue
general/
index.vue
profile/
index.vue
notifications/
index.vueThis chapter is where the default scaffold starts to feel layered instead of flat.
package.json and .jskit/lock.json
The first file worth reopening is still package.json. Because the default app includes shell-web, the important shell dependency entries are already present:
{
"dependencies": {
"@jskit-ai/shell-web": "0.x",
"@mdi/js": "^7.4.47"
}
}The important part is not just that @jskit-ai/shell-web appears. The package brings in shell runtime code and icon data; Vue Query is already owned by the base app bootstrap so every client package uses the same query client.
It is also worth noticing what does not happen here. The placed-element and page commands from this chapter mutate app-owned files, but they do not add a permanent runtime dependency to package.json. They are tooling actions, not runtime package installs.
The lock file records this too. In a default app, .jskit/lock.json already records @local/main, @jskit-ai/shell-web, and the exact files and text mutations that the shell package owns.
That is worth noticing because the default scaffold is not just copied files. It starts with a JSKIT-managed runtime package that owns concrete changes in your app tree.
The home surface gets a real wrapper
The surface itself did not change. home is still the same surface defined in config/public.js. What changed is the page tree inside it.
In the shell-web scaffold, src/pages/home.vue is more than a tiny route owner with a RouterView. It wraps the surface in the app-owned shell layout:
<route lang="json">
{
"meta": {
"jskit": {
"surface": "home"
}
}
}
</route>
<script setup>
import ShellLayout from "@/components/ShellLayout.vue";
import { RouterView } from "vue-router";
</script>
<template>
<ShellLayout title="" subtitle="">
<RouterView />
</ShellLayout>
</template>That one change explains a lot. The home surface is a shell-wrapped surface. Every child page under src/pages/home/ renders inside that app-owned ShellLayout.
src/placement.js is the placement registry
The app has a placement registry file:
import { createPlacementRegistry } from "@jskit-ai/shell-web/client/placement";
const registry = createPlacementRegistry();
const { addPlacement } = registry;
export { addPlacement };
export default function getPlacements() {
return registry.build();
}That file is the app-owned seam for placements. shell-web owns the runtime that can render placements, but the app owns the registry source that lists what should appear in those targets.
After the scaffold's shell entries plus the placed-element and page commands from this chapter, the bottom of the file contains real placement entries:
addPlacement({
id: "shell-web.home.menu.home",
target: "shell.primary-nav",
kind: "link",
surfaces: ["home"],
order: 50,
props: {
label: "Home",
surface: "home",
scopedSuffix: "/",
unscopedSuffix: "/",
exact: true
}
});
addPlacement({
id: "shell-web.home.menu.settings",
target: "shell.primary-nav",
kind: "link",
surfaces: ["home"],
order: 100,
props: {
label: "Settings",
surface: "home",
scopedSuffix: "/settings",
unscopedSuffix: "/settings"
}
});
addPlacement({
id: "shell-web.home.settings.general",
target: "page.section-nav",
owner: "home-settings",
kind: "link",
surfaces: ["home"],
order: 100,
props: {
label: "General",
surface: "home",
scopedSuffix: "/settings/general",
unscopedSuffix: "/settings/general",
to: "./general"
}
});
addPlacement({
id: "ui-generator.element.alerts-widget",
target: "shell.status",
kind: "component",
surfaces: ["home"],
order: 155,
componentToken: "local.main.ui.element.alerts-widget"
});
addPlacement({
id: "ui-generator.page.home.settings.profile.link",
target: "page.section-nav",
owner: "home-settings",
kind: "link",
surfaces: ["home"],
order: 155,
props: {
label: "Profile",
surface: "home",
scopedSuffix: "/settings/profile",
unscopedSuffix: "/settings/profile",
to: "./profile"
}
});
addPlacement({
id: "ui-generator.page.home.settings.notifications.link",
target: "page.section-nav",
owner: "home-settings",
kind: "link",
surfaces: ["home"],
order: 155,
props: {
label: "Notifications",
surface: "home",
scopedSuffix: "/settings/notifications",
unscopedSuffix: "/settings/notifications",
to: "./notifications"
}
});That snippet shows the full placement contract clearly:
- the target says which semantic placement should receive the entry
- the owner disambiguates page-owned semantic placements such as
page.section-nav kind: "link"lets topology choose the concrete link renderer for the current layout- component placements still provide their own
componentToken props.totells the generated menu link which child route to openprops.icon, when you add one, belongs to menu metadata rather than direct Vuetify icon rendering- the surface list says where it is active
- lower
ordervalues come first - when multiple entries target the same semantic placement with the same order, the shell keeps their source order
That is why the settings menu shows General first, followed by Profile and Notifications: General is seeded by shell-web with a lower order, while the two generated pages share the same later order and keep their source order.
So the shell itself remains stable. What changes is the registry that feeds it.
The local client provider publishes the app-owned components
The placement registry only points at tokens. Those tokens still need to resolve to real Vue components somewhere. That happens in the app-local client provider in packages/main/src/client/providers/MainClientProvider.js.
After the scaffold's shell registrations and the Alerts Widget generator command, that file contains registrations like these:
import AlertsWidgetElement from "/src/components/AlertsWidgetElement.vue";
registerMainClientComponent("local.main.ui.element.alerts-widget", () => AlertsWidgetElement);
registerMainClientComponent("local.main.ui.menu-link-item", () => MenuLinkItem);
registerMainClientComponent("local.main.ui.surface-aware-menu-link-item", () => SurfaceAwareMenuLinkItem);
registerMainClientComponent("local.main.ui.tab-link-item", () => TabLinkItem);This is the same app-local provider seam from the previous chapter, and this chapter shows why it matters. The provider is what lets the placement runtime resolve app-owned components by token instead of hard-coding imports inside the shell runtime.
The Profile and Notifications pages did not need to add another provider registration because they reuse the existing local.main.ui.surface-aware-menu-link-item token for their menu entries.
So the flow is:
- a placement entry names a component token
- the local client provider publishes that token
- the
ShellOutletresolves it at runtime
That is why the placement system feels dynamic even though the app still owns all of the concrete Vue files.
App.vue and error.js provide shell-level errors
The top-level app root includes the normal route outlet and the shell error host:
<script setup>
import { RouterView } from "vue-router";
import ShellErrorHost from "@jskit-ai/shell-web/client/components/ShellErrorHost";
</script>
<template>
<v-app>
<RouterView />
<ShellErrorHost />
</v-app>
</template>That host is backed by the app-owned src/error.js file:
import { createDefaultErrorPolicy } from "@jskit-ai/shell-web/client/error";
export default Object.freeze({
defaultPresenterId: "material.snackbar",
policy: createDefaultErrorPolicy({
resourceLoadChannel: "silent",
actionFeedbackChannel: "snackbar",
appRecoverableChannel: "banner",
blockingChannel: "dialog"
}),
presenters: []
});The idea is the same as with placements: shell-web provides the runtime, but the app owns the configuration file that the runtime reads.
The default error policy is intent-based. Runtime code reports what kind of error happened and the app-owned policy decides the presentation:
resource-loadusessilent; the screen keeps the load message and retry action local.action-feedbackusessnackbar; saves, commands, and other user-triggered actions report through one lightweight feedback channel.app-recoverableusesbanner; shell refresh and recoverable navigation failures stay visible without blocking the app.blockingusesdialog; unexpected UI failures and other blocking errors require explicit attention.
When app code catches a dynamic import failure itself, report it through the shell async module recovery runtime so it uses the same reload banner as router chunk failures:
import { useShellAsyncModuleRecoveryRuntime } from "@jskit-ai/shell-web/client/asyncModuleRecovery";
const asyncModuleRecovery = useShellAsyncModuleRecoveryRuntime();
try {
await import("@xterm/xterm");
} catch (error) {
asyncModuleRecovery?.notify(error, {
label: "Terminal"
});
}useShellAsyncModuleRecoveryRuntime() returns null when the shell runtime is not available in the current Vue context. That lets app-owned components use optional chaining instead of duplicating shell-web's internal injection token.
Use the narrow @jskit-ai/shell-web/client/asyncModuleRecovery subpath for this runtime, especially from modules that are imported by Node-mode Vitest suites. The aggregate @jskit-ai/shell-web/client barrel also exports the composable for normal Vite app code, but that barrel includes .vue component exports and can require Vue SFC handling in tests.
Request connectivity failures use a separate shell recovery path. Generated apps already configure TanStack Query to retry transient failures with capped backoff. shell-web then observes the app's jskit.client.query-client and, when an active safe-read query finishes in a transport failure such as Network request failed. or Failed to fetch, reports an app-recoverable banner with a Retry action that refetches that exact query. Normal HTTP validation and application errors stay local to the screen.
That recovery path is intentionally a safe GET/HEAD read refetch system, not a general HTTP replay system. User-visible reads should go through Query-backed JSKIT primitives such as useEndpointResource(), useList(), useView(), useAddEdit(), or generated CRUD screen composables. Those primitives mark Query entries with jskit.requestRecoveryMethod, so the shell only offers Retry for safe reads. Do not catch raw fetch(...) failures in each panel just to call the shell recovery runtime manually.
For a custom endpoint read, attach the recovery label to the Query-backed resource:
const projectAccess = useEndpointResource({
queryKey: ["project-access", projectId],
path: `/api/projects/${projectId}/access`,
requestRecoveryLabel: "Project access"
});If you need lower-level Query options, the same metadata can live on query meta:
const projectAccess = useEndpointResource({
queryKey: ["project-access", projectId],
path: `/api/projects/${projectId}/access`,
queryOptions: {
meta: {
jskit: {
requestRecoveryLabel: "Project access",
requestRecoveryMethod: "GET"
}
}
}
});For JSKIT read-composable screens, the default is automatic. Hand-written TanStack Query reads outside those composables must set meta.jskit.requestRecoveryMethod to GET or HEAD; unmarked queries are ignored by the shell recovery observer. Set meta: { jskit: { requestRecovery: false } } only when a query deliberately owns its entire connectivity recovery UI.
Writes are different. JSKIT does not automatically replay POST, PATCH, PUT, or DELETE after a network failure because the server may already have received the request. Save and command screens keep ownership of mutation state, field errors, conflict handling, and user feedback.
Some apps need API URLs to be scoped by the active route before the browser request is sent. Configure that once at app startup instead of replacing fetchImpl in a local transport wrapper:
import { configureUsersWebHttpClient } from "@jskit-ai/users-web/client/lib/httpClient";
configureUsersWebHttpClient({
csrf: {
enabled: false
},
resolveRequestUrl(url, context) {
if (!url.startsWith("/api/")) {
return url;
}
const projectSlug = readProjectSlugFromAppRoute();
return url.replace(/^\/api\//u, `/api/app/${encodeURIComponent(projectSlug)}/`);
}
});Call configureUsersWebHttpClient() before Vue mounts or before JSKIT composables are created. The resolver can close over the app router/store when it needs route data, and the context argument carries request details such as originalUrl, method, requestOptions, and whether the request is a stream. After configuration, normal useEndpointResource(), useList(), useView(), useAddEdit(), and useCommand() calls use the configured client. resolveRequestUrl runs after JSKIT adds query strings and before the underlying browser fetch, so request recovery metadata, JSON:API transport, credentials, CSRF, and command feedback stay on the standard path.
For packages that create their own client, use the same lower-level hook directly:
import { createTransientRetryHttpClient } from "@jskit-ai/http-runtime/client";
const studioHttpClient = createTransientRetryHttpClient({
credentials: "include",
csrf: {
enabled: false
},
resolveRequestUrl(url) {
return scopedStudioApiUrl(url);
}
});The home page talks to the backend
src/pages/home/index.vue uses Vue Query to fetch /api/health and display the result in the UI.
That is why this chapter keeps running both npm run dev and npm run server. The page expects the backend to be alive.
This matters because it is a tiny example of the frontend and backend participating in the same shell. The request itself is simple, but it proves the shell can surface runtime status instead of only rendering static chrome.
The first client stores appear
shell-web also exposes app-facing Pinia stores:
import {
useShellLayoutStore,
useShellErrorPresentationStore
} from "@jskit-ai/shell-web/client";useShellLayoutStore() owns the shell drawer state:
- whether the drawer is open right now
- whether the drawer should open by default on load
useShellErrorPresentationStore() exposes the current banner, snackbar, and dialog presentation state behind ShellErrorHost.
The simplest direct store usage looks like this:
<script setup>
import { computed } from "vue";
import { useShellLayoutStore } from "@jskit-ai/shell-web/client";
const shellLayout = useShellLayoutStore();
const drawerDefaultOpenModel = computed({
get() {
return shellLayout.drawerDefaultOpen;
},
set(value) {
shellLayout.setDrawerDefaultOpen(Boolean(value));
}
});
</script>That is the raw shared store behind the starter General settings page. It is just normal Pinia state and actions: read drawerDefaultOpen, write it back through setDrawerDefaultOpen(...), and the shell reacts.
The same store also exposes the live drawer state through drawerOpen, plus setDrawerOpen(...) and toggleDrawer() for components that need to control the drawer directly instead of only changing its default preference.
You do not need either store very often in this chapter, because shell-web already mounts the shell and error host for you. The starter General settings page uses the higher-level useShellLayoutState() helper instead of talking to useShellLayoutStore() directly, because that helper combines the store-backed drawer state with the current route and surface context that ShellLayout also needs.
That distinction is worth noticing:
- runtime services still do the operational work
- Pinia stores are the normal Vue-facing shared-state surface
The first settings route appears
shell-web also creates a settings shell for the home surface:
src/pages/home/settings.vue
src/pages/home/settings/index.vue
src/pages/home/settings/general/index.vueThe important host file is still src/pages/home/settings.vue:
<v-list nav density="comfortable" rounded="lg" border>
<ShellOutlet target="home-settings:primary-menu" />
</v-list>
<RouterView />This file matters for the same reason as ShellLayout.vue: it creates another named extension point instead of hard-coding a finished settings UI. The difference is that this one lives inside a page, not at the top shell level.
The starter shell uses a real child-page structure right away:
src/pages/home/settings/index.vueis only a redirect into the first child pagesrc/pages/home/settings/general/index.vueis the first real settings pagesrc/placement.jsalready seeds aGenerallink intopage.section-navwith ownerhome-settings
When you need that landing redirect yourself, use the same helper pattern:
import { redirectToChild } from "@jskit-ai/kernel/client/pageRedirects";

definePage({
  redirect: redirectToChild("general")
});That is what makes the page-generation examples in this chapter important. They are not inventing a new pattern. They are extending the exact same host-and-child-page structure that shell-web already uses for its own starter General page.
What did not change
It is also worth being explicit about what shell-web does not do yet:
- it does not add authentication
- it does not add a database
- it does not add new surfaces
- it does not change the local server provider model
The app is still structurally simple. shell-web just makes that simple app behave like a shell instead of a loose page.
Summary
After this chapter, the app is still small, but you have inspected the shell shape it starts with. shell-web provides an app-owned shell layout, a placement registry, a shell error host, menu-link tokens in the local client provider, real drawer navigation, and the first nested settings section under home.
More importantly, this chapter is where placements stop being theory. The shell already uses them for Home, Settings, and the starter General settings page. Then you inspect the available targets, place real UI into the outer shell, and add more child settings pages that automatically land in the nested settings menu. That is the first real example of JSKIT working as an extension system rather than just a scaffold generator.